Had the same result with the passenger side, currently in the process of drilling and chiseling this side out as was done with the driver's side. Not going quite as smoothly as the first one so I will let this sit overnight with a good soaking of penetrating lube.
 While I am waiting for the pentrating lube to act I installed the new trailing arm bushings. Probably one of the smoothest installs on this build so far. I'll let the freshly painted subframe dry for another day before I bolt the arms back on.


 The other half of the subframe bushing was still stuck to the budy of the car. My thoughts were that it was stuck on the stud itself so I drilled a series of holes in the side, sprayed some penetrating lube and went to work with a pipe wrench. I successfully cracked the aluminum along the holes I had drilled which made me think that it would come off quite nicely now...
 Boy was I wrong, the only part that was stuck was the very top where it was pressed into the steel unibody. So I successfully snapped the aluminum at the body and will have to find some way of chipping the rest of it out. Of course if I hadn't pressed the new bushing in I could have thrown it on the lathe and turned it to eliminate the interference with the left over aluminum.
 The 1/4-1/2" of aluminum that is still stuck in the body, hopefully I don't end up with the same result on the passenger side bushing.
 One actual success that I had was the subframe and differential got a couple coats of primer and paint to stop the rust buildup. This will never be anything close to a show car so only the loose rust was knocked off, no need to get the surface smooth.
 Separated the diff from the subframe to make it a little more managable to move around a clean up. Probably scraped off 2 pounds worth of dirt and other crap that was stuck to the outside.
 Disassembled the rest of the rear suspension so that pieces can be brought into the basement to be worked on where the temperature is above freezing.
 Everything ready to be worked on in the comfort of the basement. Poly bushings just waiting to be pressed in.
 Original differential mount came out fairly easily, not sure the subframe bushings will be quite as nice.

 Even after removing the subframe with the passenger side CA still attached the balljoint still refused to come loose so we resorted to grinding the bitch off.
The quality motor mount completly sheared the top mounting plate off when the subframe was dropped.

The engine sat supported by the jack and a backup jackstand for about a week while the subframe was cleaned up and the control arms were installed. Note the new shiny yellow IE motor mount.

New contol arms installed on the subframe. Much easier to properly torque the balljoints when you aren't cramped around the engine. However putting the subframe back on the car alone with the control arms mounted was an interesting experience. Slightly awkward/heavy trying to align holes while working around the engine being supported by the jack.

Subframe finally re-installed and the engine supported with the new mounts. Took a few attempts (1.5 hrs) to get the subframe mounts and the motor mounts to all line up. Will take a lot less time the next time the subframe comes off now that I have the process down.


Picked up a set of used Corbeau Forza seats from a friend. They are crappy and uncomfortable but will do the job at least for 1 season until I have more cash in the budget for seats.

The headliner was the last thing that needed to be removed before the cage can start being installed. It ended up being much more of a pain in the ass than anticipated. But at the same time I removed all the sunroof components and will eventually hard mount the sunroof panel, no more tilt/slide sunroof now it will either be in or out. Headliner, sunroof track and motor was about 10 lbs worth of stuff.


After ripping off the headliner foam there is a bunch of glue still on the sheetmetal which will need to be cleaned off. Easier to do it now while there is space rather than trying to work around a cage.


 Next up was the tach which was no working, I assumed it was due to the 3V batteries on the service indicator circuit board so I ordered some replacements and soldered them in. It didn't solve the problem and I haven't had time to investigate further.
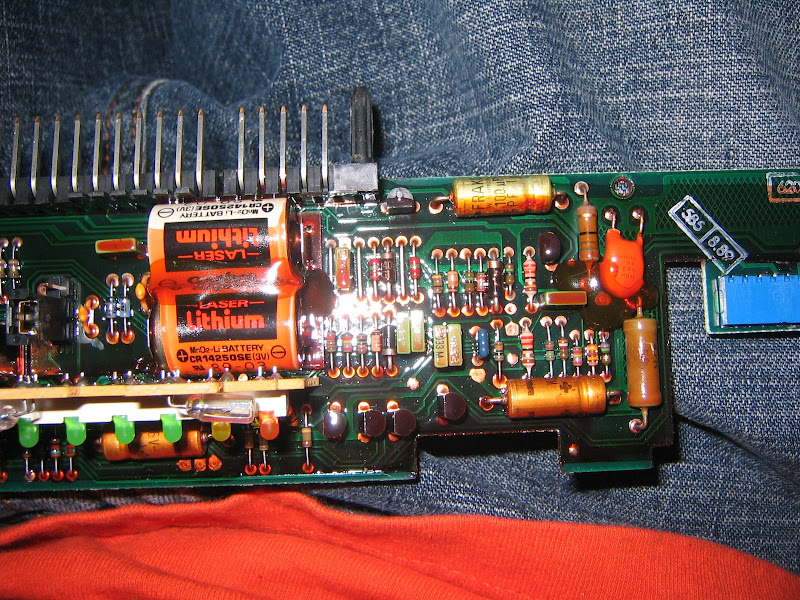

 Also now removed are the front seats (~45 lbs each non-powered) and the center console. Next up is to remove the carpet and scrape off the sound deadening material from the interior of the car.

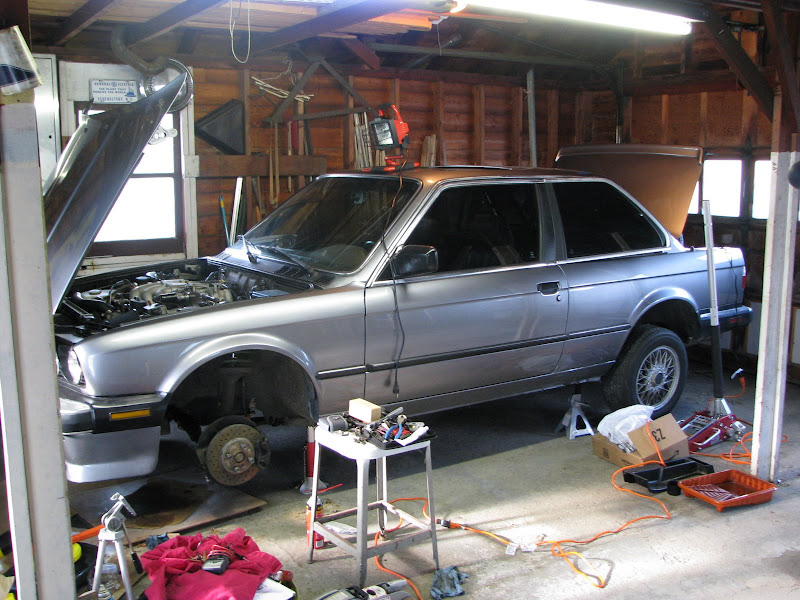
 I wasn't willing to risk my new daily driver on a road course, so I began my search for a track vehicle that I willing to put through the wear and tear of track days and autox and wouldn't be devistated if I happen to make a mistake and put it into a wall. My requirements for a vehicle were RWD, manual, 4-cyl turbo or 6 cylinder engine and preferably unique. First thoughts were 944 Turbo S or 280Z Turbo, I then came to realize that the Porsche would blow my budget in maintenance costs and the Datsun would be too difficult to find one in good shape and had limited aftermarket. So with the recommendation of the fellow racers I decided I was on a mission to find an e30 325is. After searching the want ads for a couple months and ebay I found what appeared to be an '87 325is in good shape in near by Massachusetts. I ended up buying it and am currently in the process of getting it in shape for a full season of track days and autox in 2008.